How to Paint 3D Prints? 6 Simple Step-by-Step Guide for Beginners
Raw 3D prints look rough and it also loose the printer quality. Layer lines are visible, the surface feels plastic, and the color is often just one flat shade. When you paint 3D prints the right way, even a basic PLA model can look like a professionally finished product. That’s where painting comes in. With the right preparation and simple techniques, you can transform any basic print into a clean, colorful, and professional-looking model.
Whether you are creating miniatures, decorative items, or prototypes, learning how to paint 3D prints your models properly can greatly improve the final result.
Can You Paint 3D Printed Models?
Yes, most 3D printed models can be painted easily. Common materials like ABS, PLA, and resin accept paint well when the surface is prepared correctly.
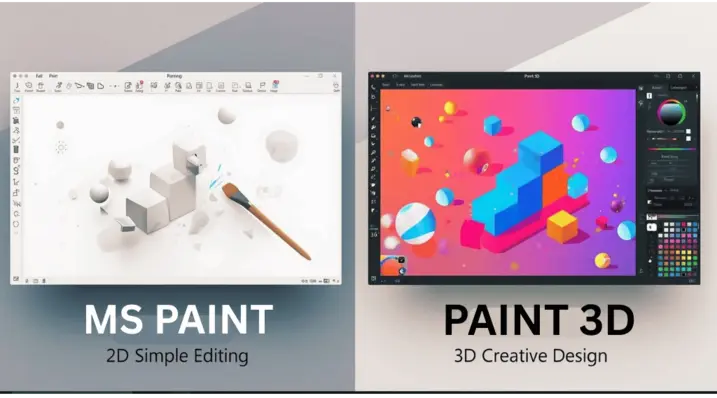
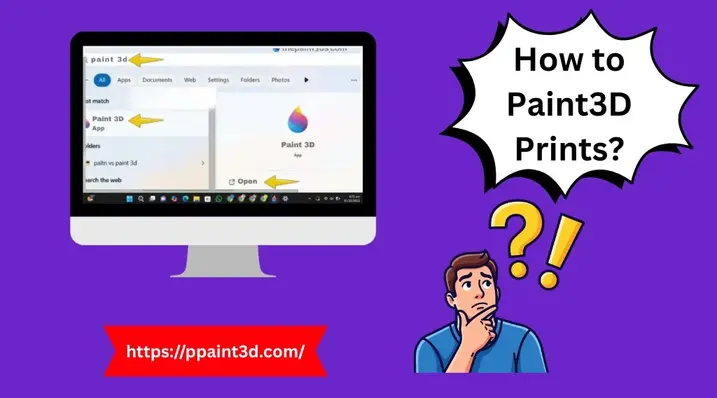
Before printing, many users design their models using tools like Paint 3D, Blender, or Tinkercad. After printing, it helps to enhance details, add depth, and improve the overall appearance.
Painting is famous for:
- Figurines
- Miniatures
- Cosplay props
- Decorative models
- Product prototypes
What You Need Before You Start?
Before you learn how to paint 3D prints, collect your materials. Below are the list of materials if you are end up with patchy, peeling results.
Basic materials:
- Sandpaper (120 to 2000 grit range)
- Plastic-compatible spray primer (filler primer works best for FDM prints)
- Acrylic paint (brush-on or spray)
- Fine detail brushes (size 0 or 00 for small areas)
- Masking tape
- Matte, satin, or gloss clear coat / sealer
- Isopropyl alcohol for cleaning
- Gloves and a face mask
Best Paint for 3D Prints
Step by Step Guide to Paint 3D Prints
Follow below simple process to how to paint 3d prints.
Step 1: Prepare the Surface Properly
Preparation is the most important step in painting.
Remove Supports
Carefully remove any extra material by using a cutter or hobby knife. Work slowly to avoid damaging small details.
Clean the Model
Wash the print with mild soapy water or wipe it with alcohol to remove dust and oil.
Sand the Surface
FDM prints have visible layer lines — those horizontal ridges that make a model look like it was stacked in thin slices. Sanding removes them and gives the paint something to grip.
Start with coarse grit sandpaper (around 120 to 220) to knock down the larger lines. Then work your way up through finer grits (400, 800, and up to 1200 or 2000 if you want a very smooth finish). Sand in small circular motions and be careful around sharp edges — it is easy to lose detail if you press too hard.
Wet sanding with fine grit paper produces an especially clean surface and reduces dust at the same time. It helps reduce visible layer lines:
- Start with rough grit (200–400)
- Move to finer grit (800–2000)
- Clean the surface between steps
👉 Smooth surfaces lead to better paint results.
Step 3: Apply Primer
Priming is the step that separates good paint jobs from great ones. Primer does two important things: it helps acrylic paint stick to the slick plastic surface, and it shows any imperfections you missed during sanding.
Filler primer is a popular choice for 3D prints because it fills in micro-scratches and tiny layer lines that sandpaper alone cannot fully smooth out.
How to prime 3D prints correctly:
- Hold the can 15 to 20 cm (6 to 8 inches) from the model.
- Apply 2 to 3 light, even coats. Never one thick coat.
- Allow each coat to dry fully before adding the next
- Lightly sand with 800 grit between coats for an ultra-smooth base
Once the primer coat looks smooth, your model is ready for color.
Step 4 — Apply the Base Coat
The base coat is the main color of your model or you can call it foundation colors.
- Always use thin paint (thick paint hides details and causes drips)
- If you are using brush-on acrylic paint, dilute it slightly with water (around 10 to 20 percent).
- Apply light, even brush strokes
- Let each coat dry before applying the next
- Use 2–3 thin layers for full coverage without losing the texture beneath.
For Spray Paint:
- Keep distance 6–8 inches from the model
- Use short, sweeping motions
- Do not stay in one spot (avoids paint buildup)
👉 Tip: Thin layers = better detail + smoother finish
Step 5: Add Details, Shading, and Highlights
This is where painting a 3D print gets creativity. Once the base coat is dry, you can bring the model to life with shading and highlighting.
Washes (shading):
Mix acrylic paint heavily with water or use a pre-made wash to create a thin, dark liquid. Brush it over the entire surface and let it pool in recesses. This creates natural-looking shadow in crevices and around details. Wipe off excess from raised areas with a dry brush.
Dry brushing:
Dip a wide brush into a light-colored paint, then wipe almost all of it off on a paper towel until barely any paint remains. Lightly drag this almost-dry brush across raised surfaces. This puts a highlight on edges and textures very quickly.
Detail work:
Use your finest brushes for eyes, lettering, gemstones, or any intricate area. Thin paint even more for this step — control matters more than coverage.
Step 6: Seal the Finished Model
After all paint layers are fully dry, apply a clear coat to protect your work. Without sealing, paint can scratch, chip, or fade within days of handling.
Choose the finish based on your goal:
- Matte — flat, non-reflective look; good for miniatures and realistic models
- Satin — slight sheen; works for most general projects
- Gloss — shiny finish; popular for vehicles, anime figures, or display pieces
Apply the sealer in the same way as primer — light, thin coats from a consistent distance. Let the model cure for 24 to 48 hours before handling it.
Common Mistakes to Avoid
If you are facing some problem, you can solve it by avoiding below steps:
- Painting directly on raw plastic without priming
- Using paint straight from the bottle without thinning
- Not letting each layer dry before adding the next
- Skipping the cleaning step before priming
- Applying sealer before the paint underneath is fully cured
Patience is the real skill in painting 3D prints. Rushing any single step usually means redoing several others.
Quick Tips for Better Results
How to paint 3d prints models in a unique way by following below steps:
- Work in a well-ventilated space, especially with spray primers and sealers..
- Use masking tape and blue-tack to protect areas when painting multiple colors.
- Test primer and paint compatibility on a small, hidden area first.
- For PLA printing materials, any plastic-compatible primer and acrylic paint will work.
- Resin prints need extra cleaning with isopropyl alcohol before priming — uncured resin residue is toxic.
Summary
Learning how to paint 3D prints takes a little practice. Clean the model, sand the surface, prime it, build color in thin layers, add shading and highlights, then seal the result. Follow those steps in order and your prints will look dramatically better than anything that comes straight off the bed.
Whether you are painting miniatures for tabletop games, finishing cosplay props, or making decorative display pieces, the same core process applies. Start simple, build confidence, and the results will follow.
FAQs
Q: What paint is best for 3D prints?
Acrylic paint is the most beginner-friendly option.
Q: Do I need primer before painting?
Yes, primer improves paint adhesion and finish quality.
Q: Can I paint without sanding?
You can, but sanding gives much better results.
Q: How do I make prints look metallic?
Use metallic paints and add light reflections with highlights.