How to Remove Background in Paint 3D for Windows 10/11?
Removing background from a photo is one of the most useful skills in image editing and graphic design. Maybe you want to create thumbnails, edit product photos, or design social media posts for friends or a project, but are stuck on removing a bad background.
Many people think they need expensive tools like Adobe Photoshop or Illustrator, but that’s not true. If you use Windows 10 or Windows 11, you already have a free tool called Paint 3D. It’s simple, fast, and great for beginners. It adds many advanced features. One of the most important tools is background removal. In this article, I’ll walk you through removing the background in Paint 3D using the Magic Select tool, step by step.
What is Paint 3D?
It is a free app developed by Microsoft. You can use it for basic photo editing, drawing, and simple 2D and 3D design. One of the best features of Paint 3D is Magic Select, which lets you easily cut out objects from images. You can Remove Background in Paint 3D, create transparent images, and reuse them anywhere.
Why Background Removal is Important?
A transparent background always makes your photo look more professional. It is useful for:
- YouTube thumbnails
- Product photos for online stores
- Social media posts
- School projects and presentations
- Logos and graphic design
When you Remove Background in Paint 3D, your subject becomes clearer and more attractive. This also improves the quality of your design.
Remove Background in Paint 3D
Follow these simple steps to remove background in paint 3d easily.
Step 1: Open or Import Your Image
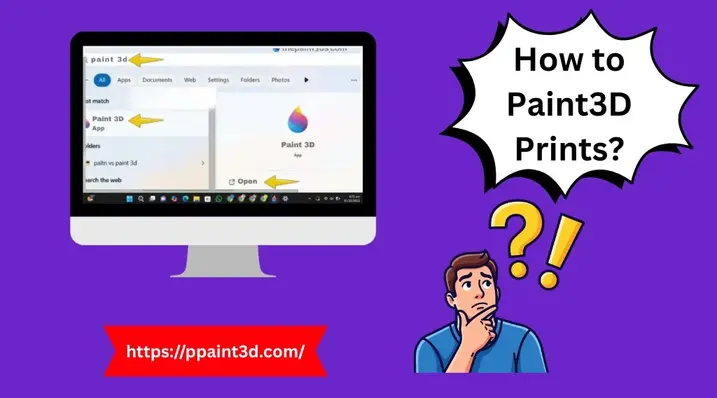
First, open Paint 3D on your computer.
- Type “Paint 3D” in the Windows search bar
- Click the app to open it
- Click Open → Browse Files
- Select your image what you want to edit from your computer. folder.
- Click on it and and wait for loading.
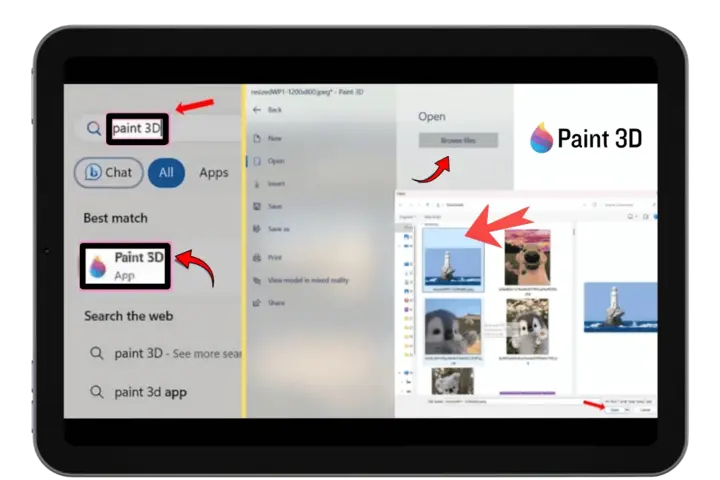
After loading, your image will appear on the canvas.
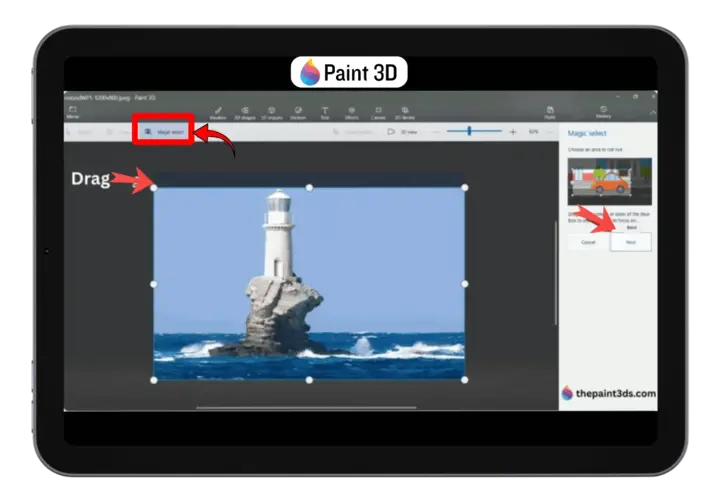
Step 2: Use Magic Select Tool
Now click on the Magic Select option from the top menu. A blue selection box with white boxes will appear around your image.
- Drag the corners of the box
- Adjust it to cover your main subject
- Try to keep the box tight around the object
After adjusting, click Next.
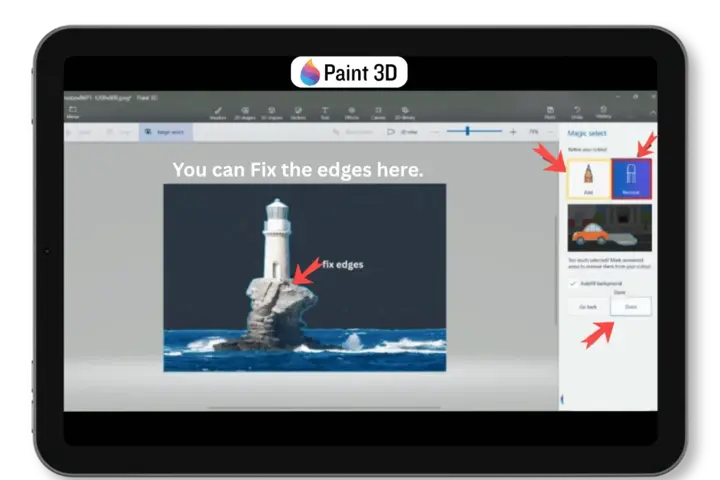
Step 3: Refine the Selection
Now, the Paint 3D will automatically select your subject. But the automatic selection might not be perfect. You need to fix it manually.
On the right side, you will see two tools:
- Add tool → to include missing parts
- Remove tool → to remove unwanted background areas
Use these tools carefully. Zoom in and fix edges on hair, hands, and other small details. Do some practice here for Better refinement and result. Once you are satisfied, click Done.
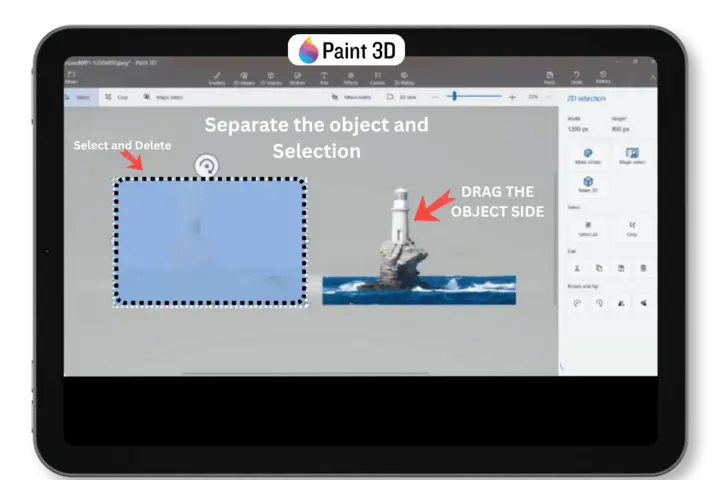
Step 4: Remove the Background
Now you can select the object, person, or animal you ‘cut out’ and drag it to the side. This makes it easier to delete the background without touching your main subject.
- Drag object slightly to the side.
- Click on Select tool.
- Highlight the background area.
- Press Delete on your keyboard.
The background will disappear and you can move your object back to the center.
Step 5: Enable Transparent Canvas
Now, you can make you background transparent. To make the background fully transparent:
- Go to the top menu and Click on Canvas. A setting will open on the right side of your screen.
- Turn ON Transparent Canvas and toggle the switch to “On” (it will turn blue). You can see below image for guidance.
- You will see a gray and white checkerboard pattern. This means your background is now transparent and ready to save.
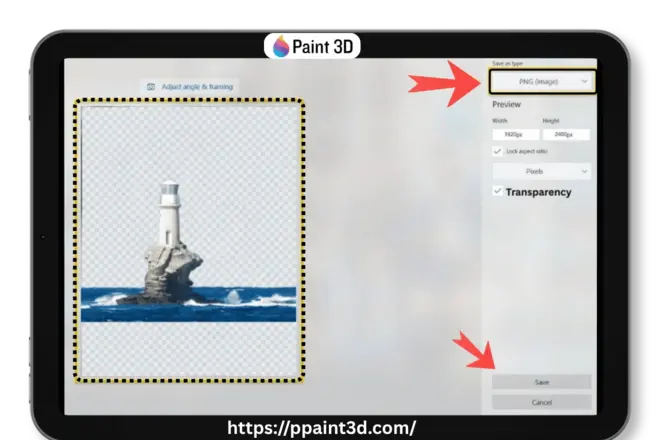
Step 6: Save as PNG
Saving correctly in PNG file format is very important.
- Go to Menu → Save As → Image.
- Choose PNG format.
- Make sure Transparency is enabled.
- Click Save.
Your image is now ready with a transparent background.
PNG vs JPEG (Important Tip)
Choosing the right format is very important for transparent backgrounds!
PNG Format
PNG supports transparent backgrounds. Always save your file as PNG when you remove a background. Its file size is bigger, but keep the image quality sharp. It
- Supports transparency
- Keeps high quality
- Best for logos, graphics, and thumbnails
- Needing transparency
JPEG Format
When you save your image as a JPEG, the background turns white automatically. It
- Does not support transparency
- Background becomes white
- Smaller file size
- Use for Regular photos
- For social media
👉 Always use PNG when you remove the background.
Common Problems and Solutions
Background turns white after saving
You saved the image as JPEG. Always choose PNG.
Edges look rough
Zoom in and refine using Add and Remove tools.
Parts of the subject are missing
Use the Add tool to restore them.
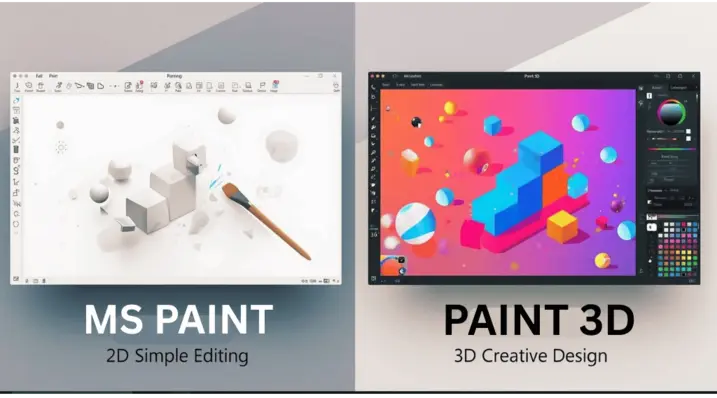
Paint 3D vs Other Tools
Let’s compare Remove Background in Paint 3D with other popular tools.
Paint 3D vs Canva
It works offline and gives manual control. Canva is faster but needs stable internet. It has a large collection of pictures, template, video template and website design. You can edit images and videos freely.
Paint 3D vs Remove.bg
Remove.bg removes background automatically. Just upload the picture and it will remove the background automatically. After that you can choose different template. Paint 3D gives better control for detailed editing.
Paint 3D vs Adobe Photoshop
Photoshop is powerful but complex. It has much advance features and best for expert graphic designer. However, Paint 3D is simple and beginner-friendly.
Pro Tips for Better Results
- Use high-quality images
- Choose images with good contrast
- Avoid busy backgrounds
- Zoom in while editing
- Take your time for clean edges
These tips will help you get professional results.
When Should You Use Paint 3D?
Use Paint 3D when:
- You want a free tool
- You need manual control
- You work offline
- You are a beginner
If you need fast results or bulk editing, AI tools may be better.
Final Thoughts
Remove background in Paint 3D is easy, free, and effective. You do not need advanced skills or expensive software. With the Magic Select tool, you can create clean and transparent images in just a few minutes.
If you practice regularly, you will improve your editing skills and get better results. It is a great starting point for beginners and a useful tool for everyday image editing.